5 Dethatchers for Clay Soil Lawns: Tool Comparison
Published
Updated
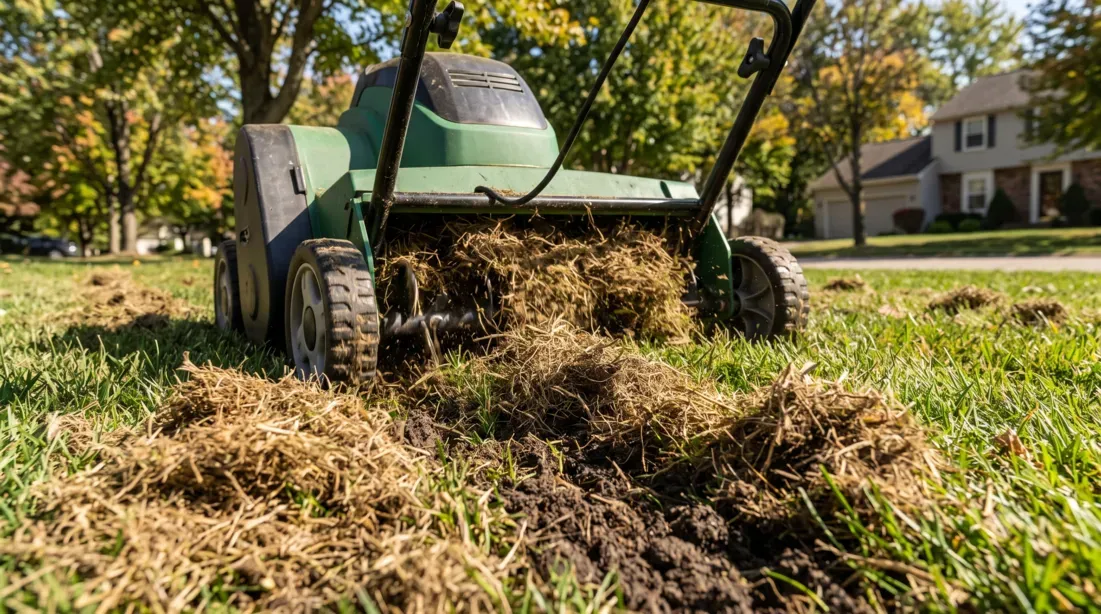
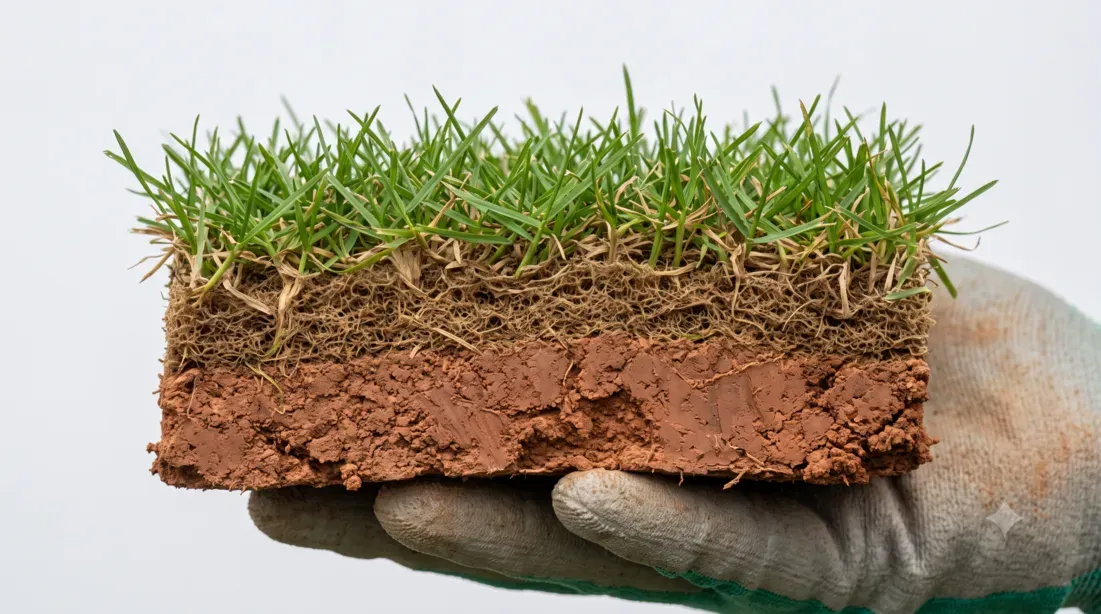
Thatch is the layer of living and dead stems, roots, and other plant material between the green turf and soil surface. A thin layer is normal, but management may be needed when it builds beyond about one-half inch and begins interfering with water movement or turf health.
Thatch buildup depends on turf species and lawn care, not soil texture alone. Excessive nitrogen, irrigation, compaction, and poor drainage can all contribute. Measure the layer in a small soil wedge before choosing a tool. If you are unsure whether the problem is above or below the soil surface, our dethatching-versus-aeration guide helps you choose the right treatment before choosing equipment.
The practical choice is between manual control for spot work, a powered walk-behind model, and tow-behind coverage for large open turf. Among powered options, a corded machine offers continuous power while a battery removes the trailing cord.
What Clay Soil Changes
The dethatcher works in the organic layer above the mineral soil, not as a substitute for core aeration. On a clay lawn, moisture and surface firmness still affect how safely the equipment travels and how much healthy turf it removes.
- Firmness: Very dry ground can make depth adjustment difficult, while saturated soil is easily disturbed.
- Surface unevenness: Ruts and high spots can make aggressive settings remove healthy crowns or contact soil.
- Compaction: Dethatching removes surface material. If the soil below is compacted, core aeration is a separate job.
Choose a tool that can be adjusted to the measured thatch layer and used according to its manual. Added ballast, tine depth, and repeat passes should stay within the manufacturer’s instructions.
Manual vs Electric vs Tow-Behind Dethatchers
Selecting the right tool depends on your lawn size, physical fitness, and existing equipment setup.
| Dethatcher Type | Typical Fit | Practical Advantage | Main Consideration |
|---|---|---|---|
| Manual Rake | Small or localized areas | Direct control without power or towing equipment | Requires sustained physical effort |
| Electric (Corded) | Areas within safe cord reach | Continuous power without battery charging | Use a cord and circuit that meet the manual’s requirements |
| Cordless (Battery) | Areas where a cord is inconvenient | No trailing power cord | Runtime depends on battery and working conditions |
| Tow-Behind | Larger open lawns | Covers a wider path behind compatible equipment | Requires a compatible mower or lawn tractor |
Top 5 Dethatchers for Clay Soil Lawns
The Sun Joe AJ798E is the compact powered pick for a smaller lawn that remains within safe cord reach. Its 12-amp motor runs a 12.6-inch path, and the interchangeable attachments cover both dethatching and scarifying work.
This is the one to pick when the whole lawn is within safe cord reach and you want continuous power without managing battery runtime.
The Greenworks DHF301 is the more convenient powered choice around trees, beds, and other places where a cord becomes cumbersome. It combines 40-volt cordless operation, a 14-inch path, and adjustable working depth.
The Greenworks makes more sense when moving freely around obstacles matters more than continuous corded power. Battery capacity, depth, and lawn conditions determine runtime.
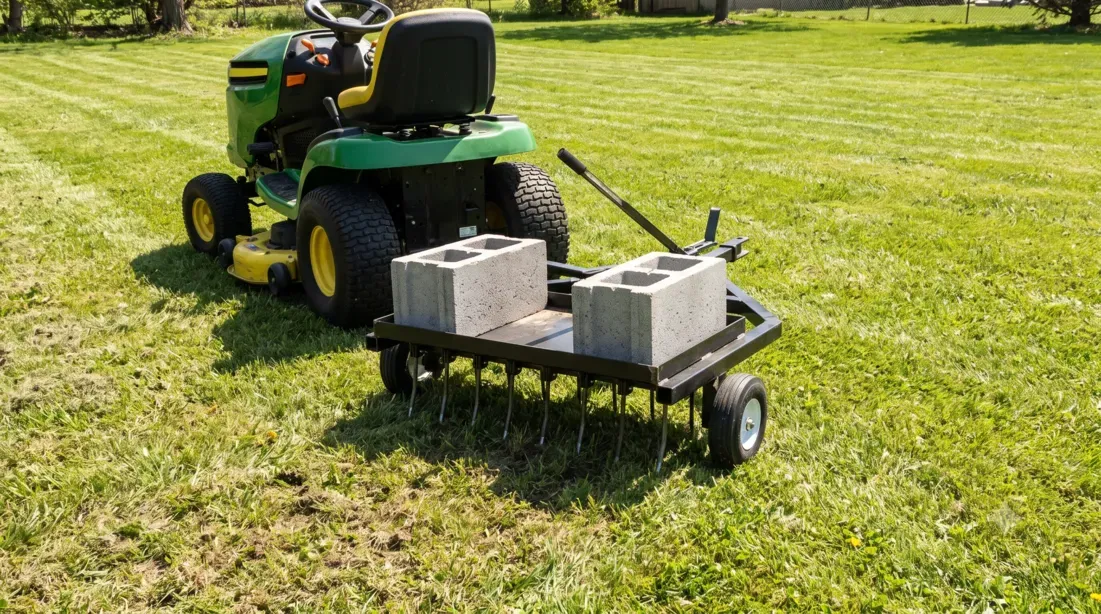
The Brinly DT2-40BH-GA is the more maneuverable tow-behind choice for readers who already own compatible lawn equipment. Its 40-inch path still covers open turf efficiently but needs less working room than the 48-inch Agri-Fab.
The Agri-Fab 45-0295 is the coverage-first choice for a large, open lawn. Its 48-inch path is the widest in this comparison, with 24 spring tines and a tray rated for up to 70 pounds.
The wide path earns its keep on long, unobstructed passes. It still requires compatible towing equipment and enough room to maneuver.
For a small area or spot treatment, the Walensee adjustable-handle thatch rake provides a manual option without a motor or towing equipment.
Manual raking provides direct control but requires more physical effort over a large area.
How to Dethatch a Clay Lawn: Step-by-Step
Dethatching too aggressively or at the wrong time can damage healthy turf. Work while the grass is actively growing and able to recover, using local timing guidance for the species.
Step 1: Check Soil Moisture
Avoid working when the ground is extremely dry or saturated. The soil should be moist enough for the machine to travel without bouncing, but firm enough that wheels and tines do not rut or smear the surface. Use ground condition, not a fixed watering interval, as your guide.
Step 2: Mow the Turf
Mow within the safe range for the grass species so the dethatcher can reach the thatch layer. Remove heavy clumps, but avoid cutting below the species’ recommended height.
Step 3: Make Your First Pass
Start with the least aggressive setting recommended by the manufacturer and make a straight test pass. Adjust only if the machine is not reaching the measured thatch layer, and stop if it is pulling healthy crowns or cutting into the soil.
Step 4: Rake and Evaluate
Rake up the loosened material and reassess the turf. A second pass may be appropriate for a substantial layer, but repeated or perpendicular passes should be used only when the grass is healthy enough to tolerate them and the tool instructions allow it.
What to Do After Dethatching Clay Soil
Dethatching may expose thin or bare areas. Choose the follow-up work according to the reason for thinning and the grass’s recovery season.
- Aerate if compaction is confirmed: Schedule core aeration during the grass’s active growth period where the soil below is compacted. See core aeration vs. spike aeration.
- Overseed where appropriate: Overseed thin areas when the local planting window suits the grass species. See how to overseed a clay-soil lawn in fall.
- Use a light, suitable topdressing if it is part of the plan: Screened compost can be applied in a thin layer without burying existing turf or seed. See our comparison of peat moss and compost spreaders.
The goal is to remove only the excess thatch while preserving healthy turf. Diagnose the layer first, choose a tool suited to the area and available equipment, and follow the manufacturer’s depth and safety instructions.