How to Overseed a Clay Soil Lawn in Fall (Step-by-Step)
Published
Updated
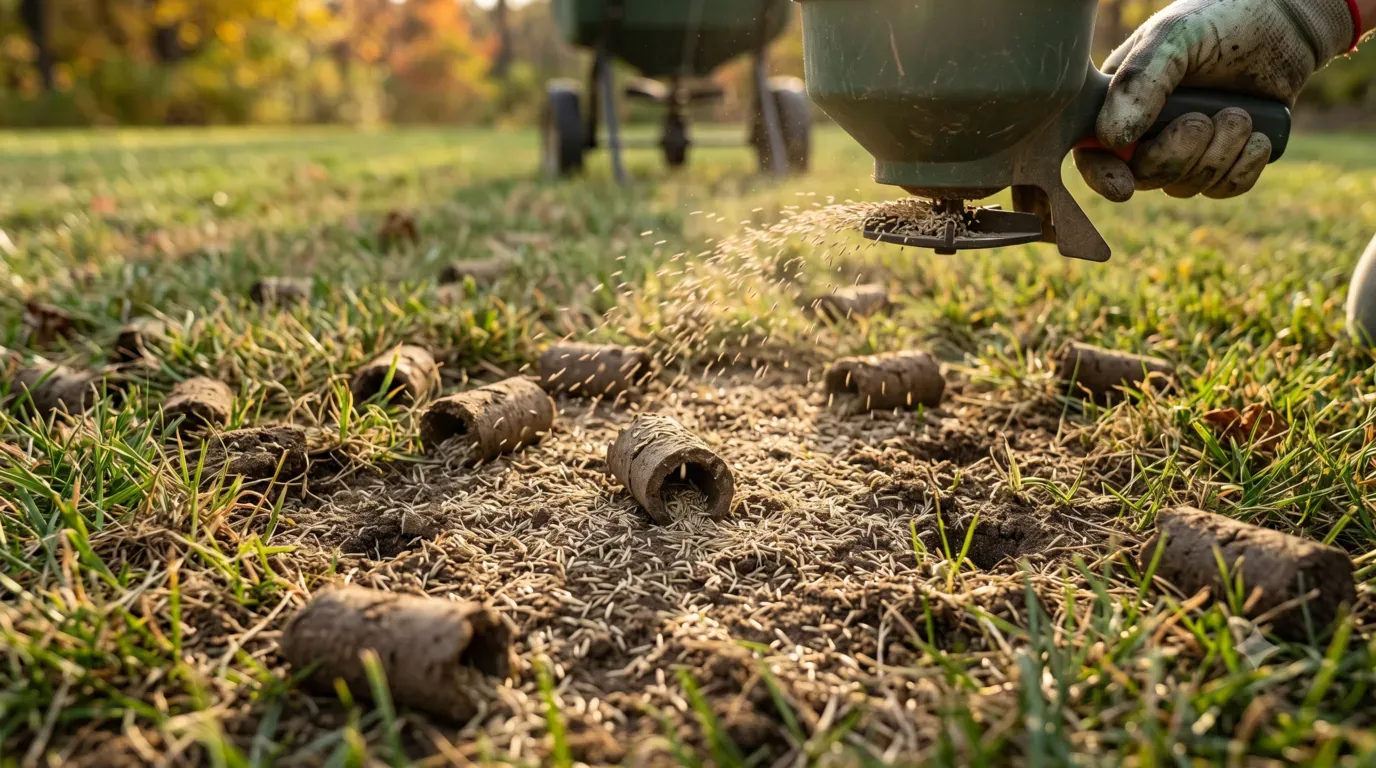
Fall overseeding is a strong fit for a thin cool-season lawn when the soil is still warm and the weather is becoming milder. The job starts with fixing whatever would keep the seed from touching soil, including a hard surface, excess thatch, or compacted areas.
The exact timing and seed choice still depend on climate, grass species, and the cause of thinning.
If most of the area is bare or needs rebuilding, use the bare-soil preparation guide to address the seedbed before following an overseeding routine.
If hard, compacted ground is the underlying problem across your lawn, start with our complete guide on how to fix compacted clay soil without digging. It covers aeration, topdressing, leveling, and overseeding as parts of the same long-term soil improvement process.
Why Fall Often Works for Cool-Season Lawns
Cool-season grasses generally establish best when air temperatures are moderating but the soil remains warm. Fall can also reduce competition from summer annual weeds. Rainfall may help, but clay can still drain slowly or crust at the surface, so irrigation should respond to actual moisture rather than a calendar.
Schedule the work early enough for the selected species to establish before winter. Warm-season lawns follow a different overseeding and establishment calendar.
If you find both a thick surface mat and hard soil, use our thatch and compaction checks to decide which preparation jobs are needed and whether the lawn can tolerate them together.
Phase 1: Mowing and Surface Preparation
Mow somewhat shorter than the lawn’s normal height while staying within the safe range for the grass species. Remove clumps that would prevent seed from reaching the surface.
Measure thatch before removing it. A thin layer is normal. Dethatch only where an excessive layer interferes with seed-to-soil contact. The goal is to open the canopy without scalping crowns or stripping healthy turf.
If you find excess thatch, our dethatcher comparison can help you choose a tool for the area that needs clearing.
Phase 2: Core Aeration Where Compaction Is Confirmed
If you need help carrying out this stage, our clay-lawn aeration walkthrough covers moisture checks, plug depth, and coverage before you sow.
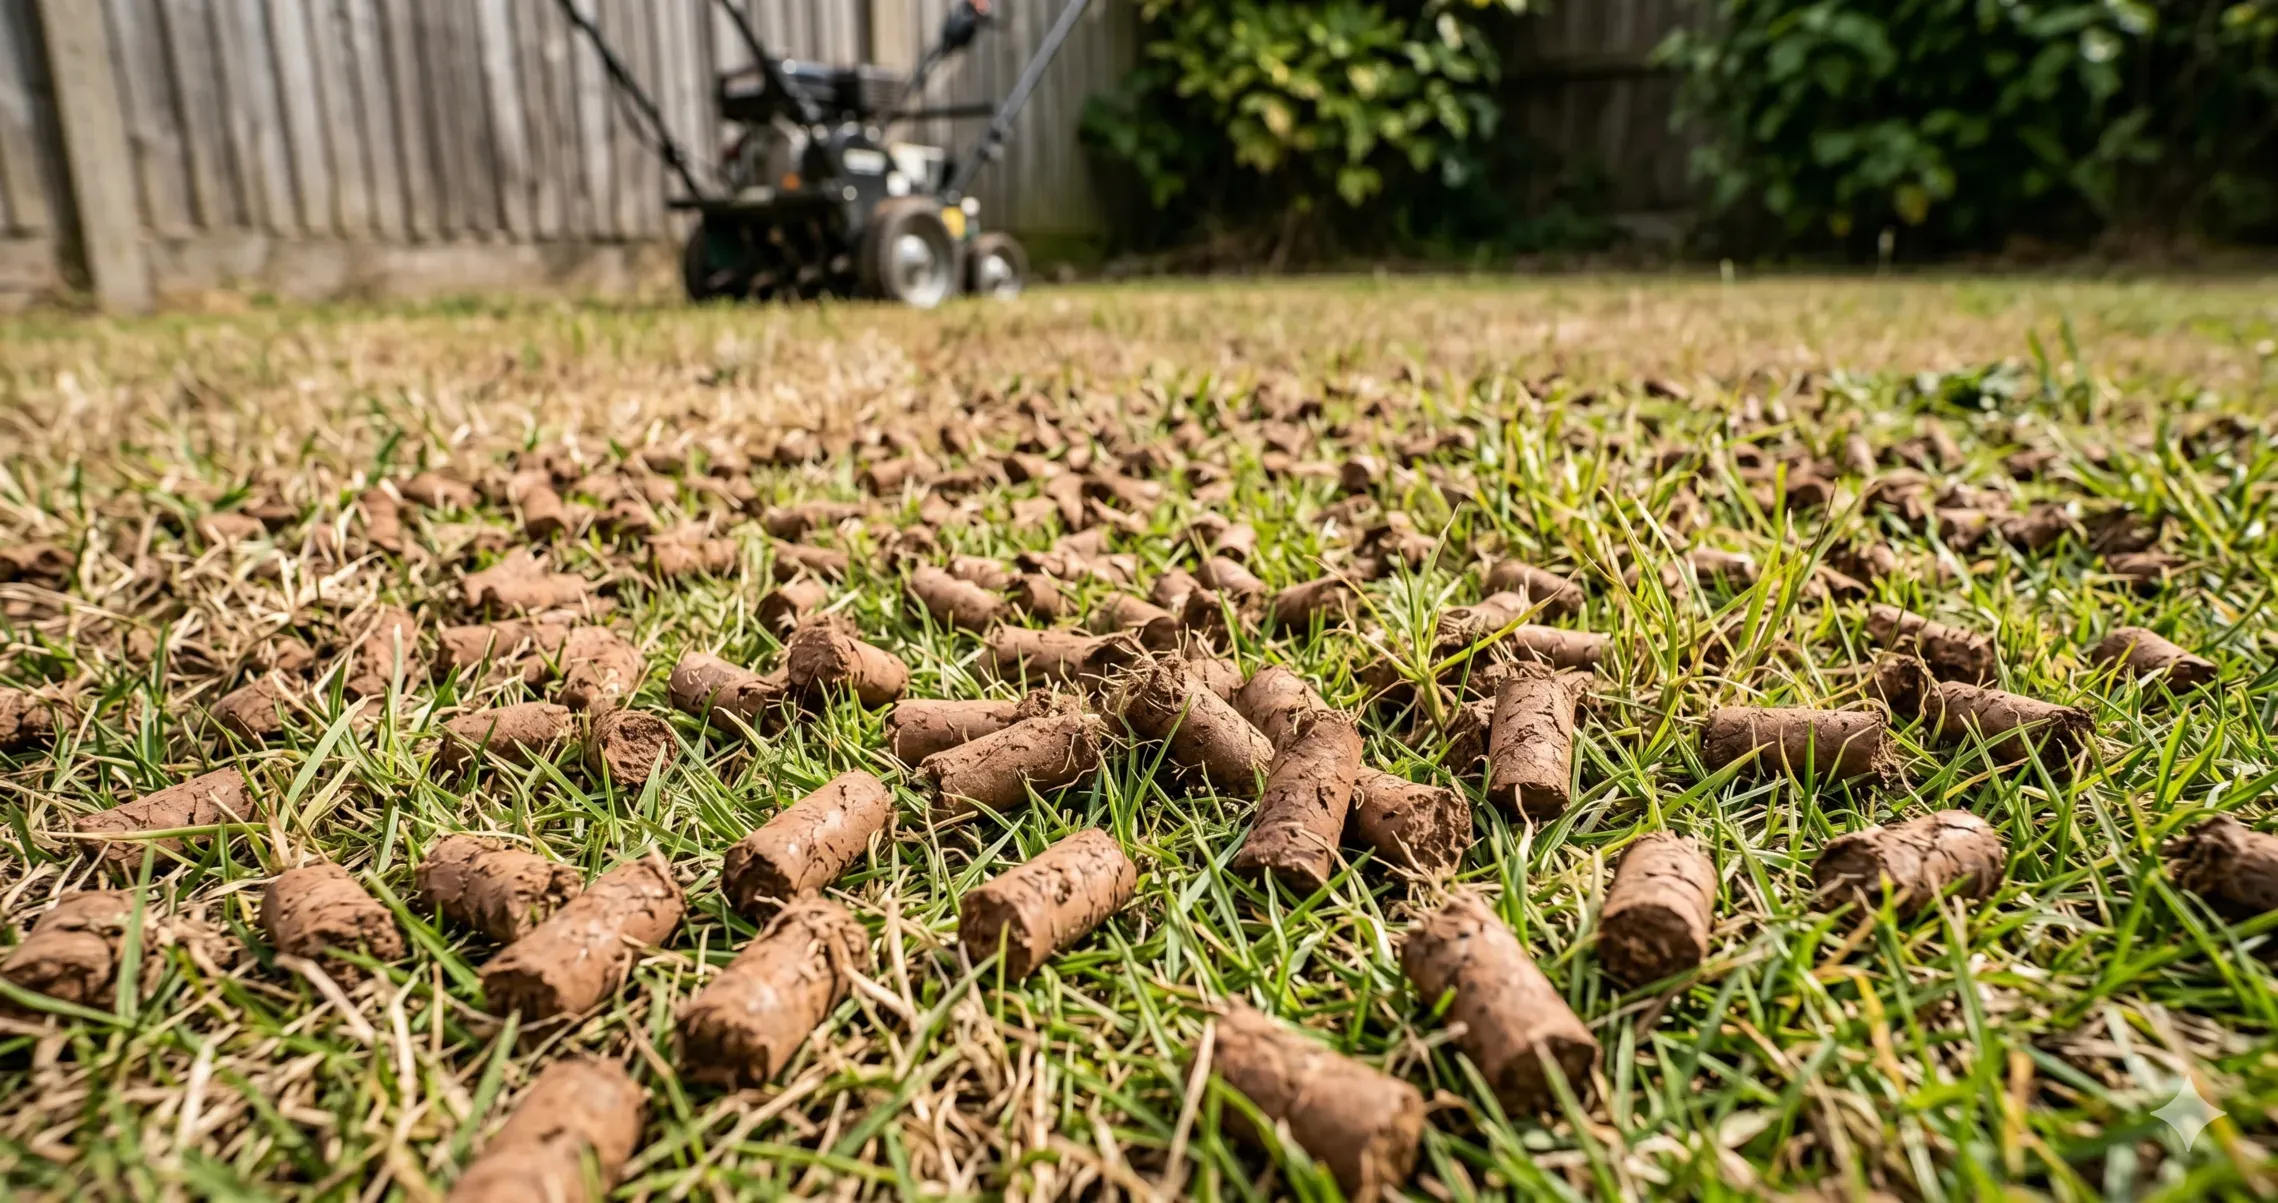
Use hollow-tine aeration where traffic or equipment has compacted the upper root zone. Work when the soil is moist but not saturated, and follow the aerator’s instructions for passes and spacing.
The extracted cores can usually remain on the lawn to dry and crumble. Distribute seed across the prepared surface instead of relying only on seed that falls into the holes.
For a few compacted patches, the Yard Butler gives you a simple two-tine tool that is easier to position than powered rental equipment. Our hand aerator comparison also covers options with plug collection and a different lifting motion.
For the difference between hollow and solid tines, see core aeration vs. spike aeration.
Phase 3: Soil Testing and Fertilizer
Let a soil test and local nutrient rules guide fertilizer and amendment decisions. Clay soil alone does not mean the lawn needs phosphorus, and a liquid conditioner will not physically break apart compacted ground.
When the soil test and establishment plan call for a 16-4-8 fertilizer, the Simple Lawn Solutions hose-end bottle provides that analysis without a separate mixing step. It is useful for that specific nutrient plan, not as an automatic addition to every overseeding job.
For more on nutrient choices, see our guide to fertilizers for clay-soil lawns.
Phase 4: Choosing and Spreading Seed
Choose species and cultivars for climate, sunlight, irrigation, expected traffic, and maintenance. Turf-type tall fescue offers relatively deep rooting and heat tolerance, perennial ryegrass establishes relatively quickly, and Kentucky bluegrass spreads through rhizomes. The best blend is the one whose grasses suit the site.
Jonathan Green Black Beauty Ultra is the versatile seed pick here. Its mix of tall fescue, Kentucky bluegrass, and perennial ryegrass suits a cool-season lawn where those three grass types match the climate, light, and intended maintenance.
For more selection considerations, see our review of grass seed for clay soil.
Seeding Application Rate and Technique
Apply the rate printed for overseeding on the current product label. Dividing the seed into two passes made in different directions can improve distribution, but calibrate the spreader so the total application does not exceed the label rate.
Phase 5: Topdressing for Seed Protection and Moisture
A light mulch or compatible screened compost can help protect the seedbed. Keep the layer thin enough that seed and existing grass are not buried. For a larger area, a rolling mesh spreader distributes screened material more evenly than hand shoveling and catches larger clumps in the drum.
See our comparison of peat moss and compost spreaders for other application options.
Phase 6: Watering the Seedbed
Clay may accept water slowly, so use short enough applications to avoid runoff or pooling. Weather, sprinkler output, slope, shade, and seed species make a fixed minute-by-minute schedule unreliable.
Stage 1: Germination
- Keep the seedbed evenly moist without creating standing water.
- Check the surface and adjust frequency for weather and exposure rather than watering by a fixed timer.
Stage 2: Seedling Establishment
- As seedlings emerge and root, reduce frequency while moistening a deeper portion of the root zone.
- Continue to stop or cycle irrigation if water begins to run off.
Stage 3: Established Turf
- Transition toward the deeper, less frequent schedule appropriate for the species, soil, season, and local watering guidance.
For a deeper look into avoiding surface runoff during irrigation, consult our complete guide on how to water a clay lawn.
Key Mistakes to Avoid When Overseeding Clay
Avoid these common problems:
- Mowing before seedlings are anchored: Follow the seed label or local guidance for the first mowing, use a sharp blade, and avoid removing too much leaf area.
- Applying herbicides without checking the label: Waiting periods around seeding vary by active ingredient and product. Follow the exact label.
- Traffic on soft soil or young seedlings: Limit traffic until the soil is firm and the new grass is established enough to tolerate it.
A locally suitable seed, good soil contact, and steady moisture give the new grass its best start. Correct compacted areas where needed, then adjust watering to the weather and the way your clay soil accepts water.