
Disclaimer: When you buy through links on our site, we may earn an affiliate commission at no extra cost to you.
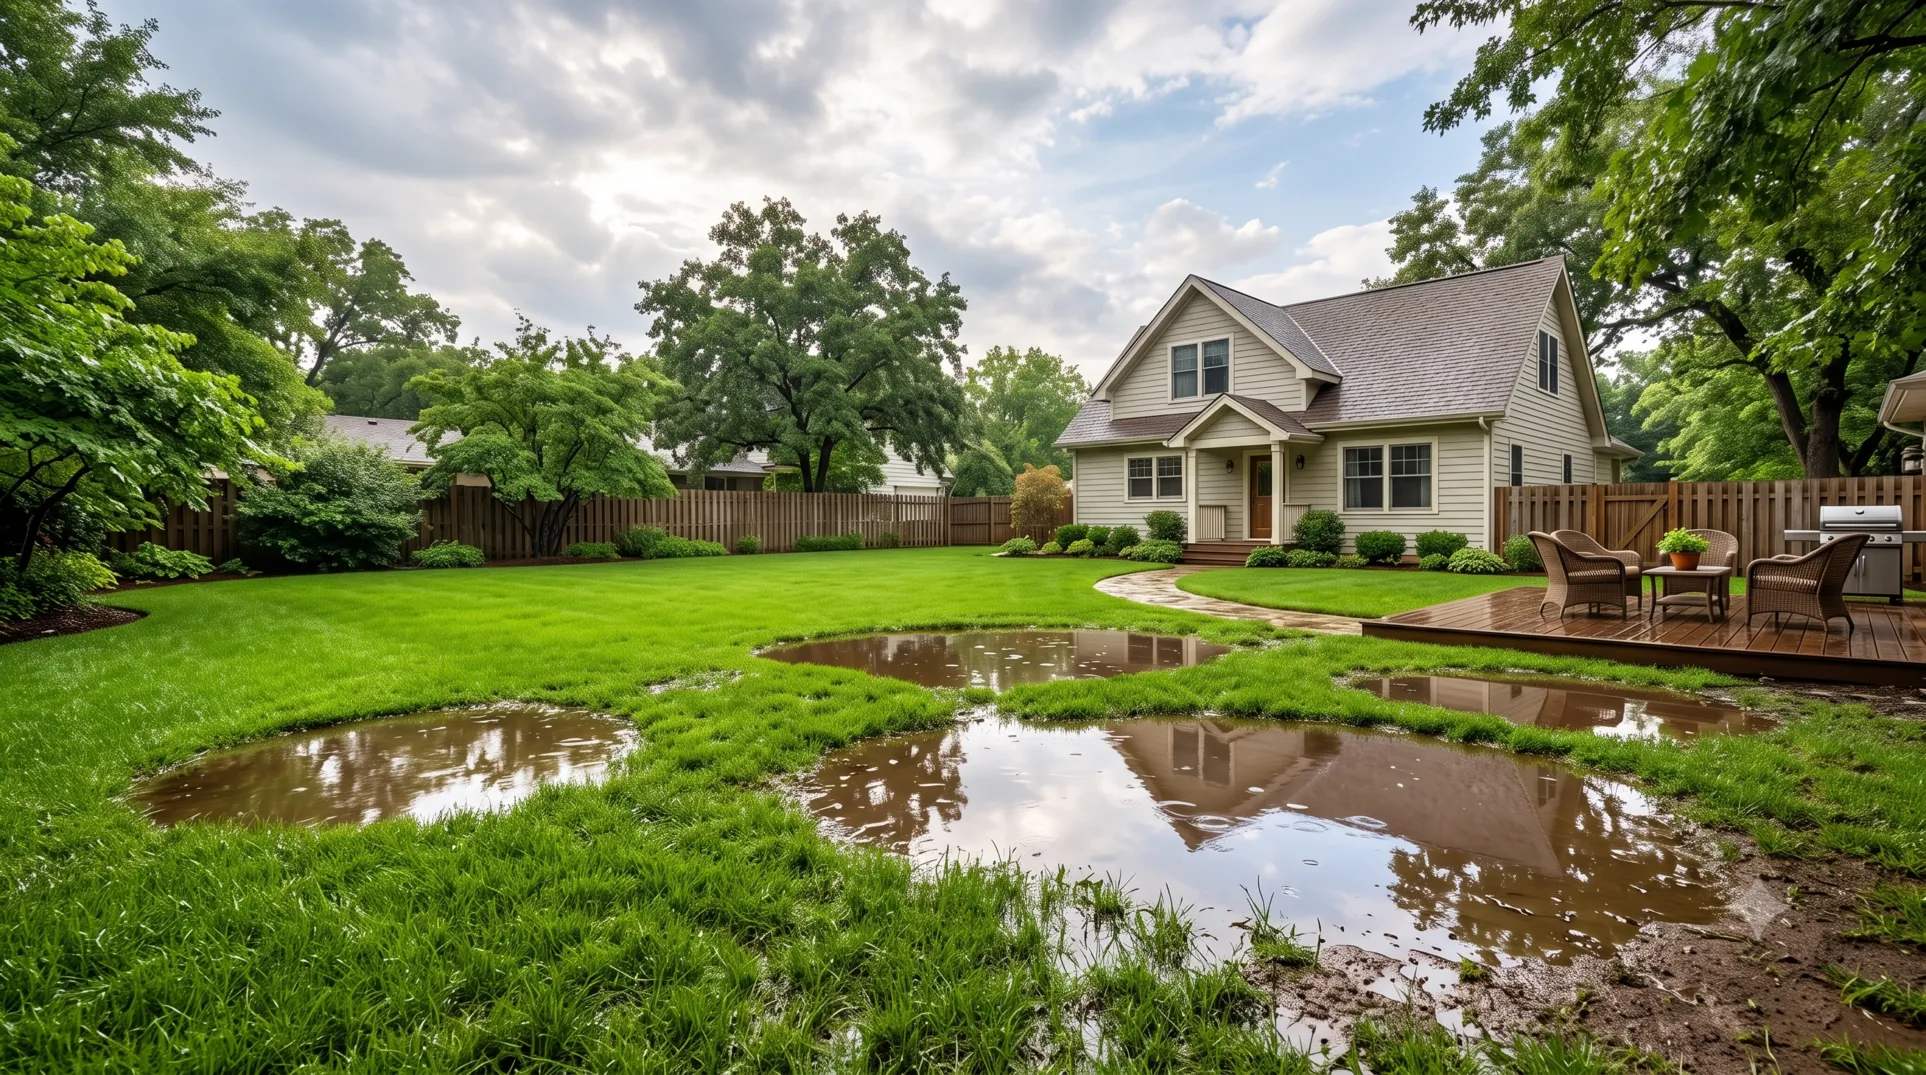
Few things are more frustrating for a homeowner than watching a beautiful backyard transform into a muddy, waterlogged swamp after every heavy rainstorm. If your house is built on heavy clay soil, this is a battle you likely fight all year round. Because clay soil consists of microscopic, tightly packed platelets, it has virtually no macro-pore space. Water cannot easily filter down through the dirt, leading to persistent puddles, soggy turf, and areas of standing water that can submerge and drown your grass roots within 24 to 48 hours. If you want to rescue your yard from becoming a permanent bog, you need to know exactly how to fix standing water on a clay lawn before the constant moisture rots your turf from the inside out.
Leaving standing water untreated doesn’t just ruin your weekend plans; it actively suffocates your turf, cuts off oxygen supply to the root zone, and invites lawn diseases, fungal infections, and unwanted moss growth. Fortunately, you don’t have to live with a swampy yard. In this comprehensive, long-form guide, we will break down the science of clay drainage, explore commercial-grade DIY solutions, and give you a step-by-step blueprint to reclaim your green space.
Why Heavy Clay Soil Creates a “Bathtub Effect”
To solve a drainage problem, you must first understand what is happening beneath the surface. Soil scientists categorize clay as a heavy, fine-textured soil. Unlike sand, which features large, irregular particles with plenty of air gaps between them, clay particles are flat, tiny, and highly cohesive.
When it rains, these flat particles absorb water and expand. Once the initial saturation point is reached, the clay particles tightly lock together, creating an almost completely impermeable barrier. This triggers what landscapers call the “bathtub effect.” The top few inches of topsoil become completely oversaturated, and because the water has nowhere to go downward, it pools on top of the lawn, waiting entirely on evaporation.
Compounding this issue is human activity. Construction equipment, riding lawn mowers, and even regular foot traffic from kids and pets compress these clay layers over time. This heavy subsurface compaction destroys whatever minimal pore space was left, turning your yard into a concrete-like basin that repels water.
Proven Strategies to Fix Standing Water on a Clay Lawn
Depending on the severity of your pooling water and the size of your property, you can implement several distinct strategies. We can divide these into two main categories: Soil Structural Fixes (improving the soil’s ability to absorb water) and Mechanical Engineering Fixes (physically moving the water off the property).
Here is a quick overview of the most effective methods based on your specific situation:
- Mechanical and Liquid Aeration: Best used for minor pooling and surface compaction. This is highly DIY-friendly and easy to complete.
- Deep Core Topdressing: Best used for long-term structural improvement of the clay matrix. This is moderate in difficulty and highly labor-intensive.
- Gutter and Downspout Redirection: Best used for foundation flooding and heavy roof runoff. This ranges from easy to moderate difficulty.
- French Drain Installation: Best used for severe pooling, muddy swamps, and deep low spots. This is a harder project that requires significant digging.
1. Mechanical and Liquid Aeration (For Mild to Moderate Pooling)
If water stands on your lawn for three to six hours after a rain but eventually drains away, your primary issue is surface compaction rather than a major grading problem.
To fix this, you must physically puncture the clay barrier. For smaller suburban yards, a manual step-aerator works great, while larger properties require a heavy-duty tow-behind unit. Pulling physical dirt plugs breaks up the hard crust, creating thousands of mini-reservoirs for the water to sink into. If you are unsure which tool fits your yard size, take a look at our detailed breakdown of core aeration vs spike aeration to see why hollow tines are non-negotiable for clay.
To maximize the effects of mechanical aeration, you should pair it with a high-quality liquid soil conditioner, such as Simple Lawn Solutions Liquid Soil Loosener. This advanced surfactant breaks the surface tension of the clay particles. When applied after pulling cores, the liquid penetrates deep into the soil profile, helping water slip down through the tight clay matrix much faster.
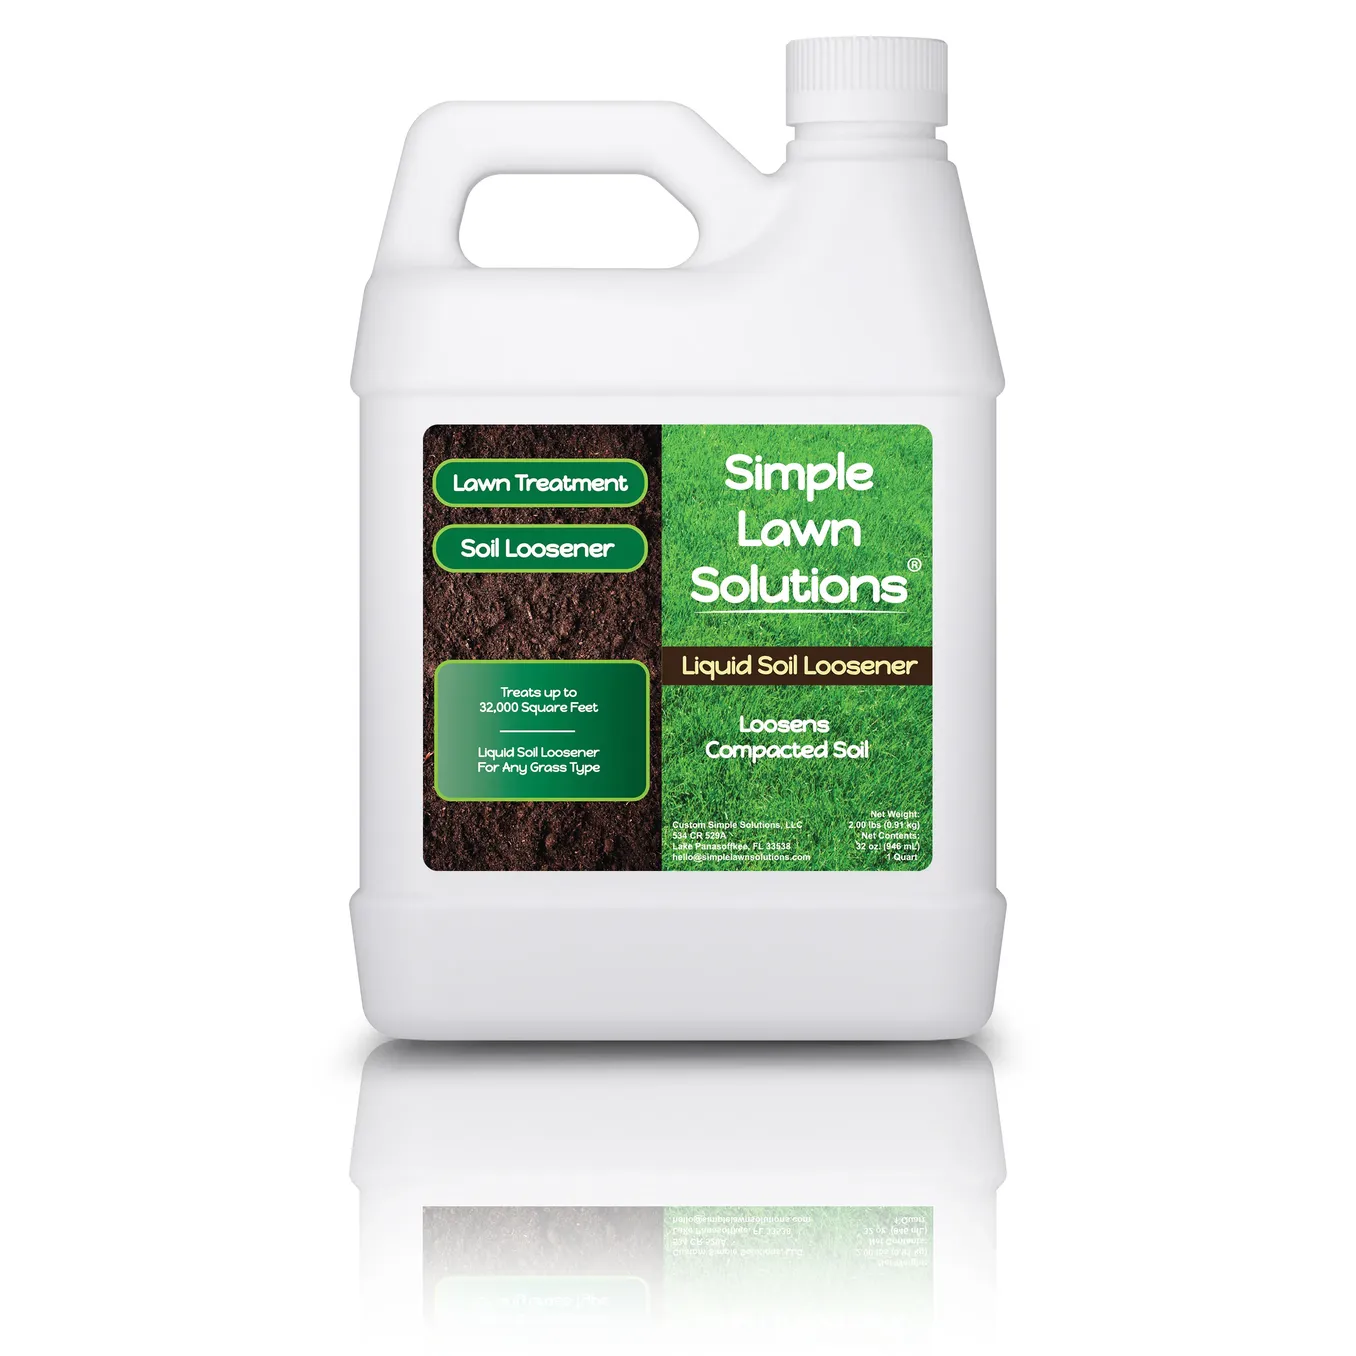
This advanced liquid soil conditioner is a game-changer for anyone dealing with hard, compacted clay. Instead of breaking your back with heavy tools, this liquid surfactant breaks down the surface tension of dense dirt, allowing water, air, and nutrients to penetrate deep into the root zone.
It is completely non-toxic, safe for pets and children, and works perfectly alongside mechanical aeration to eliminate stubborn puddles and boost grass growth.
2. Deep Core Topdressing with Organic Matter
Aeration holes provide immediate relief, but they will eventually fill back up with surrounding clay if left alone. To create a permanent drainage network, you must practice topdressing.
Immediately after core aerating your lawn, spread a 1/4-inch layer of high-quality compost or fine organic matter across the turf. Use a lawn leveling rake to push the organic material directly into the open core holes. Over the coming weeks, earthworms and soil microbes will feed on this organic matter, pulling it deeper into the clay. This process completely alters the soil structure over time, creating permanent channels for water and air to reach the roots. If you want to make this process incredibly efficient, consider using a specialized tool; check out our guide on the best peat moss spreader to learn how to get an even, professional distribution without clumped layers.
Step-by-Step Guide: Installing a DIY French Drain
If you have massive, deep puddles that remain standing for days after a storm, surface treatments won’t be enough. You need to give the water a designated, gravel-filled path of least resistance to exit your property. A traditional French drain is the undisputed gold standard for severe clay soil drainage issues.
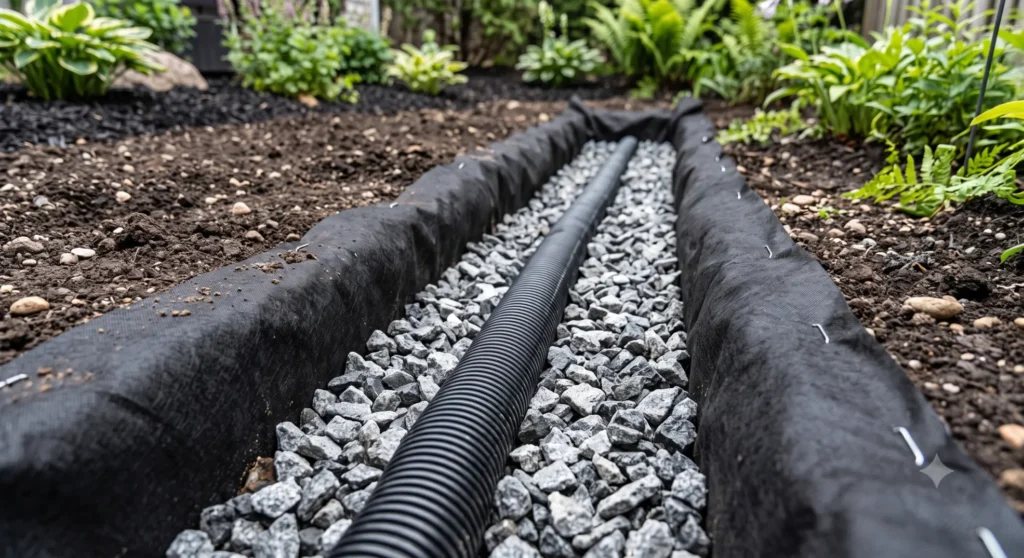
Here is the structural blueprint of how a French drain channel is layered from the bottom up to prevent fine clay from clogging the system:
- Trench Bottom: Excavated to a 1% downward slope.
- Gravel Base: 2 inches of washed round gravel or river rock.
- Drain Pipe: NDS 4-Inch Perforated Drain Pipe placed with the holes facing DOWN.
- Gravel Fill: Filled to within 3 inches of the top with washed gravel.
- Filter Fabric Envelope: Non-woven geotextile fabric completely wrapping the gravel and pipe.
- Top Layer: Thin sand/topsoil mix covered by the original grass sod.
Step 1: Map the Route and Check the Slope
A French drain relies completely on gravity. You must dig a trench that slopes away from the problem area toward a safe exit point, such as a street curb, a dry well, or a lower, unused portion of your property. The trench must have a downward slope of at least 1% (which equates to a 1-inch drop for every 8 feet of pipe).
Step 2: Excavate the Trench
Dig a trench that is roughly 10 to 12 inches wide and 12 to 18 inches deep. Keep the sod you remove if you plan on replanting it on top later. Ensure the bottom of the trench is smooth and holds a consistent downward angle.
Step 3: Line with Geotextile Fabric
This is the most critical step for clay soil. If you skip fabric, fine clay silt will migrate into your gravel over time, clogging the system and rendering it useless within two seasons. Line the entire trench with a high-quality, non-woven geotextile filter fabric, leaving excess fabric spilling out over the sides.
Step 4: Pour the Gravel Base and Lay the Pipe
Pour a 2-inch layer of washed round gravel (about 1/2-inch to 1-inch stone) into the bottom of the trench. Next, lay down your perforated drainage pipe, such as a heavy-duty 4-Inch Perforated Drain Pipe.
Always install perforated pipe with the holes facing DOWN, not up. Water rises into the pipe from the bottom of the trench as the groundwater level climbs, allowing it to flow away immediately.
Step 5: Backfill and Wrap
Fill the remaining space around and above the pipe with washed gravel, leaving about 2 to 3 inches of space at the top. Wrap the excess filter fabric over the top of the gravel layer like a burrito. This encloses the entire gravel-and-pipe system in a protective shield. Finally, cover the top with a thin layer of sand and topsoil, then lay your grass sod back over the top.
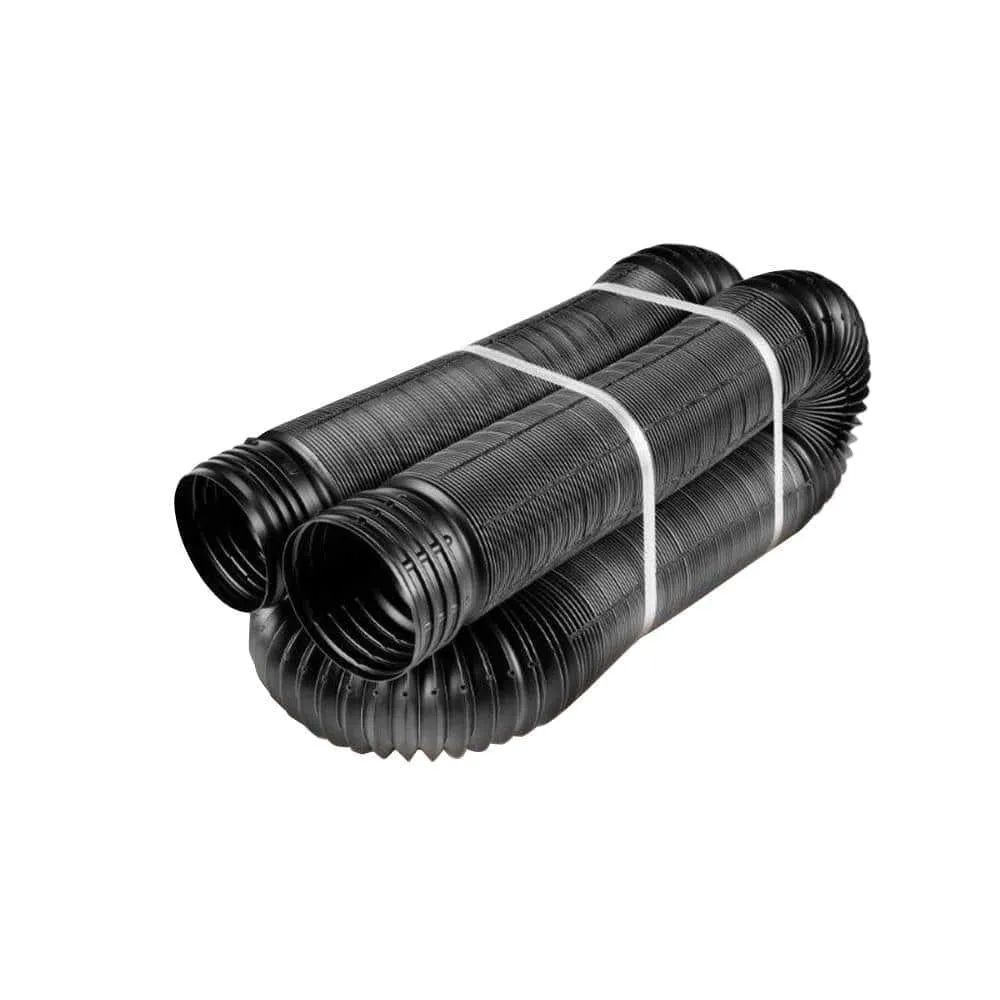
This heavy-duty perforated drain pipe is the backbone of any successful yard drainage project. Designed specifically to handle the high water volume of waterlogged lawns, it features precision-cut perforations that allow groundwater to enter the pipe smoothly and flow away from your property.
Built from durable, weather-resistant plastic, it resists crushing under the weight of heavy clay and gravel, ensuring your French drain system remains clog-free and functional for decades.
Managing Roof Runoff and Downspout Deluges
Sometimes, the standing water on your lawn isn’t actually coming from the sky directly above the puddle. Instead, it is being funneled there by your home’s roof gutter system. A standard 2,000-square-foot home can shed close to 1,200 gallons of water during a single inch of rainfall.
When your downspouts dump this massive volume of water directly onto a flat, non-absorbent clay surface near your home’s foundation, instant flooding occurs.
To fix this, consider buying solid PVC drainage pipe and catching basins to extend your downspouts underground. Route this water completely past your lawn area directly to a storm drain or a dedicated pop-up emitter at the edge of your property. If heavy vehicles or construction trucks have packed down the soil near your drainage exit points during a recent home remodel, make sure to read our guide on repairing a lawn after heavy equipment to ensure the ground remains porous enough to process this concentrated runoff.
Furthermore, remember that persistent moisture on clay is an open invitation for moss spores to thrive. If your standing water has already resulted in a velvety green carpet overtaking your turf, consult our specialized guide on how to get rid of moss in a clay soil lawn to reclaim your yard before the moss smothers out the remaining grass.
Frequently Asked Questions (FAQ)
Will putting sand on top of a wet clay lawn fix drainage?
No! Never put pure sand onto a clay lawn. This is one of the most dangerous myths in lawn care. When fine sand particles mix with tightly packed clay particles, they bind together to create a material structurally identical to primitive concrete. Instead of improving drainage, topdressing with sand will ruin your soil structure permanently. Always use rich organic compost or leaf mold to loosen clay.
How long can grass survive under standing water?
Most common turfgrass varieties (like Kentucky Bluegrass, Tall Fescue, and Perennial Ryegrass) can survive submerged in standing water for about 24 to 48 hours before serious permanent damage occurs. During hot summer weather, hot standing water can literally scald and kill the grass within a single afternoon due to rapid oxygen depletion.
Does gypsum help fix standing water on clay lawns?
Gypsum (calcium sulfate) only helps if your clay soil has an unnaturally high sodium (salt) content, which is common in arid coastal regions. For standard backyard clay compaction found in most residential areas, gypsum will not break up the soil or fix standing water issues. Regular core aeration and organic topdressing are far more effective.
Can I use a sump pump to remove standing water from my yard?
Yes. If you have a massive low basin where water collects and you cannot install a gravity-fed French drain, you can install an outdoor sump pump basin (often called a catch basin) equipped with a submersible utility pump. The pump can automatically push the water through a garden hose to a designated drainage ditch or street curb.
Summary
Fixing standing water on a clay lawn requires shifting from a passive observer to an active water manager. For mild compaction issues, a long-term regimen of mechanical core aeration, organic topdressing, and liquid soil looseners will successfully open up the soil profile. But for severe, muddy swamps caused by poor grading or heavy downspout runoff, installing a gravel-lined French drain or underground downspout extensions is the single best investment you can make to protect your roots, eliminate moss, and keep your property dry, healthy, and usable all year round.